Opening Thoughts on Thermostat Setup
Have you ever sensed that your living quarters veer toward extremes—stifling heat or biting chill—even while your heating or cooling unit hums along as usual? More often than not, the culprit is the thermostat itself. This seemingly inconspicuous apparatus is the command hub of your Thermostat installation, orchestrating the climate within your home. A correctly mounted thermostat can radically transform comfort, trim energy expenses, and elevate system efficacy.
This chronicle will escort you step by step, guiding you through thermostat installation—even if you’ve never fastened a wire or held a drill.
Varieties of Thermostats
Manual Thermostats
The traditional archetypes: you swivel a dial or nudge a slider to set the climate. Modest in cost and straightforward, yet hardly paragons of efficiency.
Programmable Thermostats
These allow tailored scheduling. Imagine lowering the furnace’s flame while you’re away and rekindling warmth just before you return—a quiet steward of both comfort and conservation.
Smart Thermostats
Crowning the hierarchy of innovation, these connect seamlessly to Wi-Fi, offering control through your smartphone or a voice command. They study your routines, learning and adapting to minimize wastage.
Essentials Before Commencing
Arm yourself with the following implements:
- Screwdrivers (both flathead and Phillips)
- A drill (should new apertures be required)
- Wire stripper
- Spirit level
- Voltage tester
- Tape or labeling for wires
- Safety armor: gloves and protective lenses
Pre-Installation Precautions
- Deactivate Power: Always silence the current from the breaker—safety precedes haste.
- Confirm Compatibility: Not all thermostats befriend every HVAC unit; investigate before purchase.
- Read the Manual: Each brand pens its own doctrine—study it.
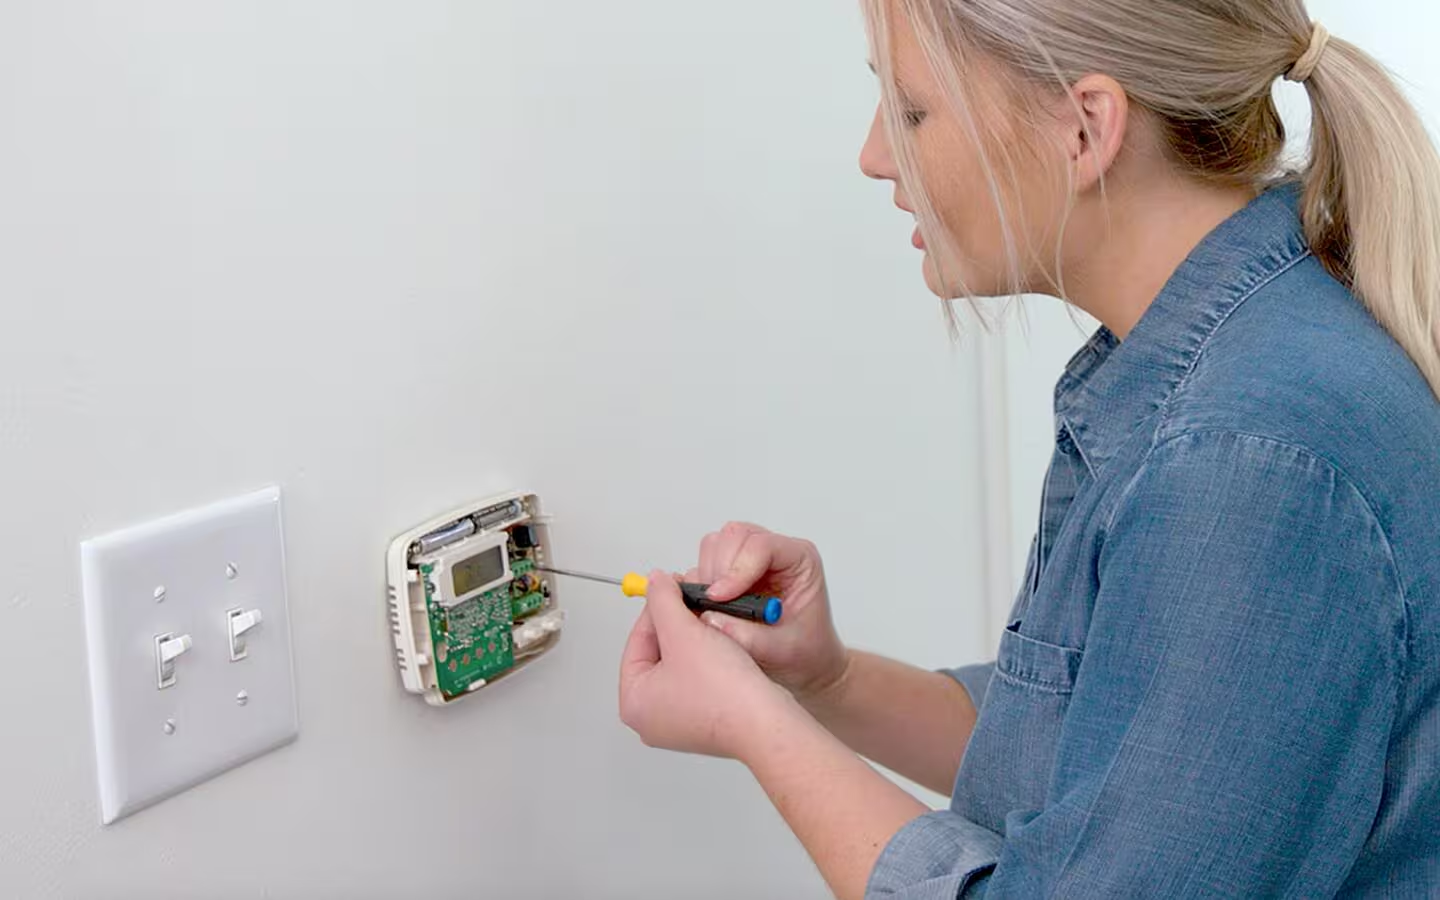
Evicting the Old Thermostat
- Cut the power.
- Detach the thermostat’s casing.
- Affix labels to every wire—R, W, Y, G, and so forth—before loosening.
- Unfasten the baseplate and gently extract the unit.
Understanding the Wire Symphony
Though daunting at first glance, the wiring speaks in a familiar tongue:
- R (Red): Power feed
- W (White): Heat signal
- Y (Yellow): Cooling command
- G (Green): Fan control
- C (Blue/Black): Common wire, vital for smart models
Mounting the Fresh Backplate
- Align the plate upon the wall.
- Level it with precision.
- Bore holes if necessary, set anchors, and fasten securely.
Marrying the Wires
- Introduce each wire to its rightful terminal.
- Screw them down firmly.
- Recheck—one misstep here could imperil the system.
Affixing the New Thermostat
Snap the unit onto its cradle until it clicks with conviction, lying flush and poised against the wall.
Breathing Life into the System
Revive power at the breaker. Should the thermostat glow, triumph—it draws its lifeblood.
Configuring the Device
- Establish the date, time, and climate preferences.
- Program schedules for programmable models.
- For smart versions, connect to Wi-Fi and embrace the companion app.
Trial Run
- Engage heating—warmth should emanate.
- Engage cooling—a refreshing breeze should flow.
- Test the fan—air should stir.
If dissonance arises, revisit your wiring.
Pitfalls to Evade
- Skipping the breaker shutdown—reckless and perilous.
- Installing in flawed locales: near draughty windows, kitchens, or vents.
- Neglecting to label wires, leaving chaos in reconnection.
Upkeep and Sustenance
- Wipe the screen with a gentle cloth.
- Replace batteries in applicable models.
- Update firmware for the intelligent variants.
- Service your HVAC annually.
Closing Reflection
Mounting a thermostat is far from sorcery, yet it demands patience and meticulousness. Armed with the correct tools, a grasp of wire lore, and this guide, you can bypass installer fees and cultivate a more comfortable, energy-conscious dwelling.
Frequently Posed Queries
- Can I attempt thermostat installation unaided?
Yes. Many contemporary units are crafted with DIY in mind. If wires confound you, summon a professional. - How do I judge HVAC compatibility?
Scrutinize the thermostat’s specifications and your HVAC guidebook. Most smart thermostats host online compatibility checkers. - What cost accompanies installation?
DIY incurs only the thermostat’s price ($50–$250). A professional’s hand adds $100–$300. - Do smart thermostats economize energy?
Indeed. By tailoring themselves to your habits, they can trim bills by as much as 20%. - What is the temporal demand for installation?
Typically, a half-hour to an hour suffices.
Leave a Reply